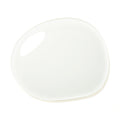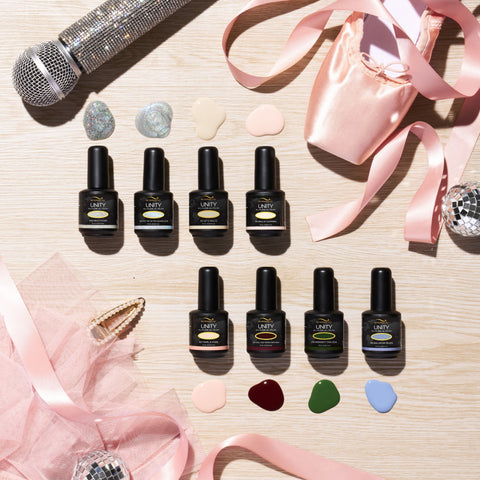
1064 Ballroom Blues
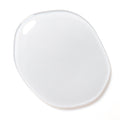
Les vernis gel 3 étapes (3step) sont parfaits pour celles désirant une manucure plus durable ainsi que des couleurs plus consistantes; ils sont plus crémeux que les vernis gel 3 en 1 puisqu'ils sont faits à base de blanc et sont généralement plus opaques.
Good to know!
- Always apply gel polish to one or two fingers at a time, curing them under the lamp to avoid bleed-through into the cuticles.
- We recommend curing the tips of your nails by lifting your hand under the lamp, but leaving your palm on the plate so that they are in direct contact with the LEDs.
- Keep your gel polish bottles away from the lamp when it is on. If they are too close, the gel and brush will cure and become unusable.
- Keep your bottles away from UV rays. Avoid applying your gel polish outdoors (even if it's cloudy!) You must apply 3-in-1 gel polishes indoors and then go outside to cure. We strongly suggest you still apply the base and top coat to your fingernails for a longer-lasting result.
- Shake your bottles well before each use. 3-in-1 gel polishes already have the base and top coat inside. If you haven't shaken one of these gel polishes for a long time, there may be a layer of base, color, and top coat on top of each other, just like water and oil (a heterogeneous mixture). This can be a reason why a 3-in-1 gel polish peels a few days after application.
- All layers of gel polish will remain sticky even after curing under a lamp. Only the Glossy Gel Polish will be completely dry after curing. It is very important not to snag anything during application.
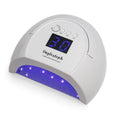
- Your lamp must have an intensity of more than 42 watts for gel polish to cure properly. Finger positioning inside the lamp is very important. Pay special attention to your thumb and little finger.
- Always apply thin coats. If the coats are too thick, the gel polish may chip.
- Leave a millimeter between the cuticle and the gel polish. If it extends into the cuticles, it can chip.
- Do not tear off the gel polish, as one layer of your natural nails will also peel off.
- We strongly suggest curing the base and top coat for at least 2 minutes, even if the bottles say 1 minute.
We do our best to present our nail polish colors online as accurately as possible. However, please note that your device settings and resolution may vary slightly from reality.
1. File the top coat of your nails a little.
2. Apply a thick layer of the Acetone-Free Gel Polish Remover all over your nails without touching your cuticles.
3. Leave on for 6 to 8 minutes
4. File gently to remove what remains
Repeat step 2 if you are unable to remove your gel without having to file intensely.
1. Apply the strengthening gel base coat evenly and cure it under the LED lamp for 2 minutes . Note that you can repeat this step 2 times to make your nails stronger (2 base coats).
2. Apply a first layer of gel color and cure it under the lamp for 1 minute.
Apply as many coats as desired until you are satisfied with the opacity. Cure between each coat.
For an even longer-lasting manicure, apply clear hardening gel polish after this step.
3. Apply the Glossy Gel Finish polish evenly and cure for 2-3 minutes .
4. To finish your manicure, apply an oil to moisturize your cuticles and you're done!
*Note that each layer of gel polish will not be dry when you remove your nails from the lamp unless you are applying a 3-in-1 gel polish. They will be sticky throughout the application process except when you apply the top coat. Only the Glossy Top Coat will be completely dry once cured.