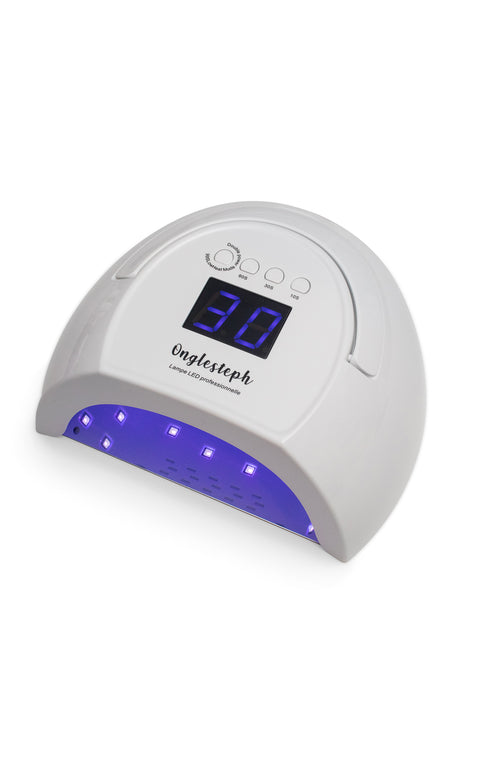
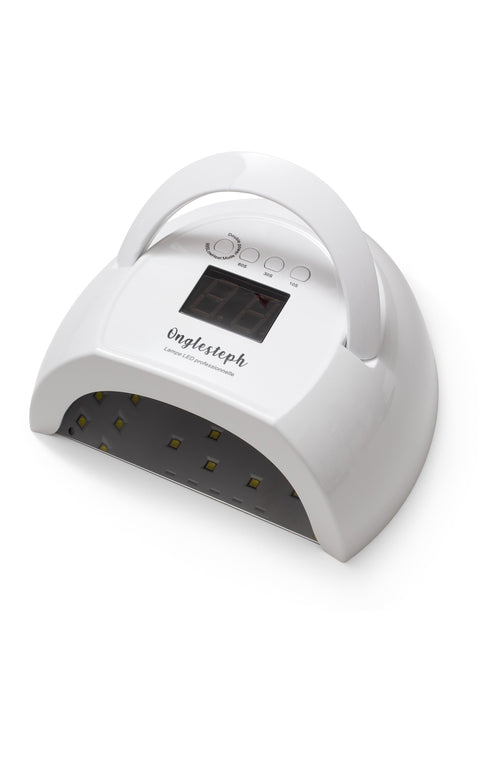
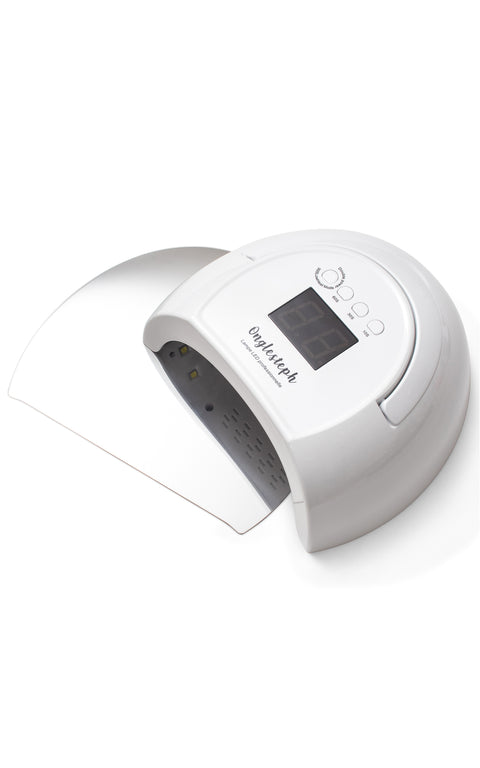
80 watts LED Lamp
Notre lampe DEL 80 watts professionnelle convient pour tous les types de gels sur le marché.
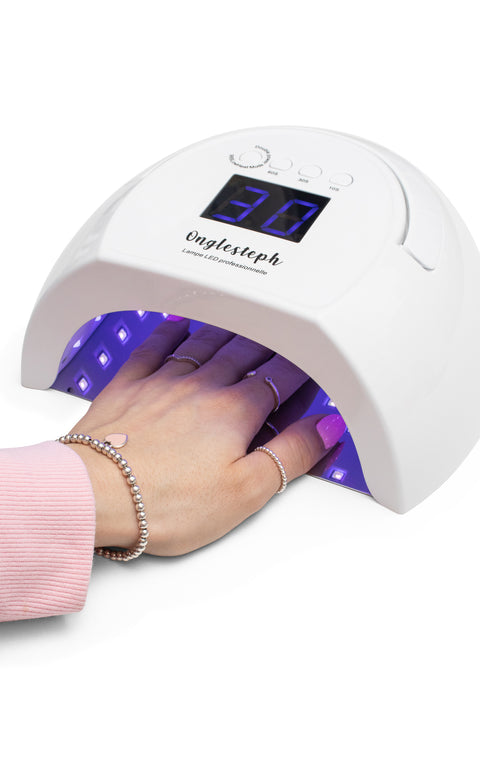
Grâce à sa plaque miroir, votre vernis gel sera polymérisé uniformément sans effort puisque la lumière reflète à l'intérieur. Elle est dotée d'un détecteur de mouvement qui s'activera automatiquement lorsque vous mettrez et retirerai votre main. De plus, la lampe est munie d'un minuteur compte à rebours qui vous indiquera le temps exact qu'il reste à votre polymérisation.
Les personnes ayant les ongles sensibles seront agréablement surprises du mode à faible intensité; il permet de diminuer l'intensité de la lampe afin de polymériser moins drastiquement, protégeant ainsi les ongles des sensations de brûlure (souvent causées par des ongles trop minces dû à un limage trop intense).
Features of our lamp
To clean your lamp, use an alcohol-soaked correction pad ; it's super easy to remove gel polish stains this way.
Remove the blue plastic film before use.
Our lamp has a one-year warranty. Note that you can purchase only the cord.
- The main difference between an LED lamp and a UV lamp is the drying time . LED lamps are more efficient and can cure gel polish in 30 to 60 seconds, while a UV lamp will take about 2 minutes. LED lamps emit UV, but never as much as UV lamps.
- LED lamps have a longer lifespan than a UV lamp.
Important information to know about UV lamps (excerpt from the Journal de Montréal):
Given that UV nail lamps have similar properties to traditional UV tanning beds, i.e., most of the light is emitted by UVA radiation, this could suggest that repeated exposure of the hands to this radiation could cause damage to cell DNA and increase the risk of cancer.
Béliveau , Richard (2023, March 26). “UV rays from nail salons, a risk factor for cancer?” . Le Journal De Montréal [newspaper], on the website journaldemontreal.com . Accessed April 29, 2025. https://www.journaldemontreal.com/2023/03/26/les-rayons-uv-des-salons-de-manucure-un-facteur-de-risque-de-cancer
- Always apply gel polish to one or two fingers at a time, curing them under the lamp to avoid bleed-through into the cuticles.
- We recommend curing the tips of your nails by lifting your hand under the lamp, but leaving your palm on the plate so that they are in direct contact with the LEDs.
- Keep your gel polish bottles away from the lamp when it is on. If they are too close, the gel and brush will cure and become unusable.
- Keep your bottles away from UV rays. Avoid applying your gel polish outdoors (even if it's cloudy!) You must apply 3-in-1 gel polishes indoors and then go outside to cure. We strongly suggest you still apply the base and top coat to your fingernails for a longer-lasting result.
- Shake your bottles well before each use. 3-in-1 gel polishes already have the base and top coat inside. If you haven't shaken one of these gel polishes for a long time, there may be a layer of base, color, and top coat on top of each other, just like water and oil (a heterogeneous mixture). This can be a reason why a 3-in-1 gel polish peels a few days after application.
- All layers of gel polish will remain sticky even after curing under a lamp. Only the Glossy Gel Polish will be completely dry after curing. It is very important not to snag anything during application.
- Your lamp must have an intensity of more than 42 watts for gel polish to cure properly. Finger positioning inside the lamp is very important. Pay special attention to your thumb and little finger.
- Always apply thin coats. If the coats are too thick, the gel polish may chip.
- Leave a millimeter between the cuticle and the gel polish. If it extends into the cuticles, it can chip.
- Do not tear off the gel polish, as one layer of your natural nails will also peel off.
- We strongly suggest curing the base and top coat for at least 2 minutes, even if the bottles say 1 minute.
We do our best to present our nail polish colors online as accurately as possible. However, please note that your device settings and resolution may vary slightly from reality.
1. File the top coat of your nails a little.
2. Apply a thick layer of the Acetone-Free Gel Polish Remover all over your nails without touching your cuticles.
3. Leave on for 6 to 8 minutes
4. File gently to remove what remains
Repeat step 2 if you are unable to remove your gel without having to file intensely.
1. Apply the strengthening gel base coat evenly and cure it under the LED lamp for 2 minutes . Note that you can repeat this step 2 times to make your nails stronger (2 base coats).
2. Apply a first layer of gel color and cure it under the lamp for 1 minute.
Apply as many coats as desired until you are satisfied with the opacity. Cure between each coat.
For an even longer-lasting manicure, apply clear hardening gel polish after this step.
3. Apply the Glossy Gel Finish polish evenly and cure for 2-3 minutes .
4. To finish your manicure, apply an oil to moisturize your cuticles and you're done!
*Note that each layer of gel polish will not be dry when you remove your nails from the lamp unless you are applying a 3-in-1 gel polish. They will be sticky throughout the application process except when you apply the top coat. Only the Glossy Top Coat will be completely dry once cured.